


















How To Lay LVT Herringbone Flooring

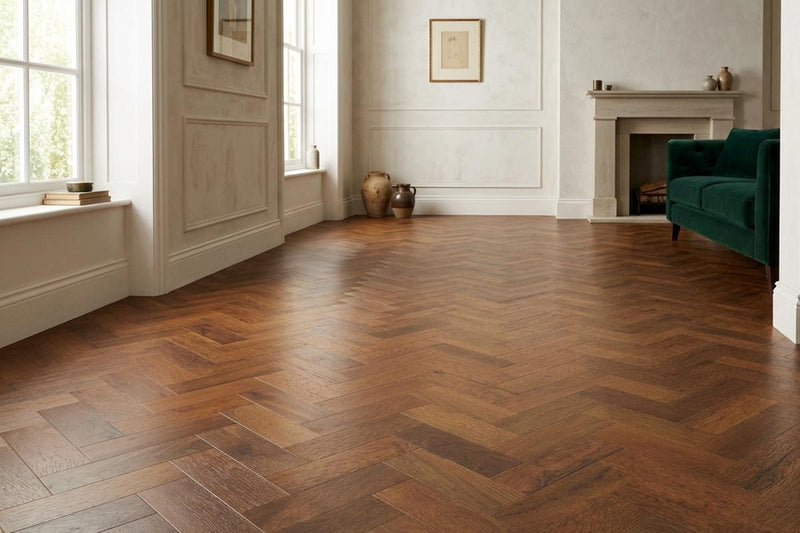
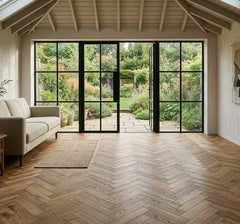
Herringbone flooring has stood the test of time, offering a classic pattern that elevates any room. When paired with luxury vinyl tiles (LVT), it delivers the best of both worlds – timeless style with modern practicality. LVT is durable, water-resistant and easy to maintain, making it an excellent choice for busy areas like kitchens, living rooms and hallways. You might think it’s going to be tricky to install your herringbone LVT flooring, but you’ll be pleased to know that the process is more straightforward than you think. With the right tools, preparation and guidance, herringbone flooring installation can be a rewarding DIY project that adds character to your home.
Tools and Materials You’ll Need
Before you begin your installation, it’s important to gather the right tools and materials. Having everything prepared will make the process smoother and ensure a professional-looking finish.
Essential items:
- Adhesive for glue-down installations
- Spacers to maintain consistent expansion gaps around the edges
- Tape measure for accurate measuring and cutting
- Chalk line to mark out your central reference line
- Utility knife for clean, precise cuts
- Floor roller to secure the planks in place and remove air pockets
- Underlay for added comfort and sound insulation, depending on installation type
- Protective knee pads to save your joints during the fitting process
Preparing the Subfloor
A successful project starts before you lay the first tile. The preparation stage is crucial for ensuring your LVT floor looks seamless and lasts for years.
- Clean the surface: sweep or vacuum thoroughly to remove dust, dirt and debris. Even small particles can prevent the plans from sitting flat.
- Check for moisture: LVT is water-resistant, but the subfloor must be dry. Use a moisture meter (if needed) and fix any underlying damp problems before installation.
- Level the floor: run a straight edge across the surface to check for dips or bumps. Fill uneven areas with a suitable levelling compound to create a smooth base.
- Repair imperfections: patch cracks or holes in concrete, and secure any loose boards if you’re installing over wood.
- Acclimatise your LVT planks: leave the packs in the room for at least 24–48 hours before installation. This helps the tiles adjust to the room’s temperature and humidity, reducing the risk of gapping later.
Acclimatise your LVT planks: leave the packs in the room for at least 24–48 hours before installation. This helps the tiles adjust to the room’s temperature and humidity, reducing the risk of gapping later.
Don’t rush this stage. A clean, dry and perfectly level surface is the foundation of a flawless herringbone design. Skipping or rushing preparation is one of the most common reasons for uneven results.
Planning Your Herringbone Layout

Before starting your herringbone flooring installation, take time to plan the layout carefully. This step ensures the finished pattern looks balanced and professional.
- Find the centre point of the room: measure the length and width of the space, then mark the midpoint of each wall. Where the lines cross is your starting point. This helps keep the pattern symmetrical across the room.
- Mark your first row: snap a chalk line along your centre point. This will act as your guide when laying the first ‘V’ of planks. If this row is straight and accurate, the rest of the design will naturally follow.
- Dry lay a few planks: place a small section of planks without adhesive to see how the pattern looks. This allows you to adjust before committing, ensuring no awkward cuts fall in visible areas like doorways or central walkways.
- Focus on symmetry: successfully fitting herringbone flooring is all about balance. A symmetrical layout avoids the pattern looking lopsided and makes the floor visually pleasing from every angle.
Spend extra time on this stage – it’s far easier to correct alignment issues before the adhesive goes down.
Step-by-Step Guide: How to Lay Herringbone Flooring
Now that your subfloor is prepared and your layout planned, it’s time to begin the installation. Follow these steps to learn how to lay herringbone flooring like a professional:
- Start from the centre line: use the chalk line you marked earlier as your main guide. Beginning in the middle of the room keeps the pattern even on both sides and prevents awkward, uneven cuts along the edges.
- Install the first ‘V’: lay the first two planks at a right angle to form a ‘V’ shape with their short ends touching. This first piece is important as it sets the pattern for the rest of the room, so take your time to ensure it’s perfectly aligned with your centre line.
- Work row by row: continue adding planks, building the herringbone design row by row. Always check that the joints are snug and that each new ‘V’ lines up neatly with the last. Small gaps can quickly add up, so press each plank firmly into place.
- Cut edge pieces neatly: when you reach the walls, measure carefully and cut planks to fit using a utility knife. For a clean finish, allow for the expansion gap by using spacers between the planks and the wall.
- Roll the floor for secure adhesion: once a section is complete, use a floor roller to press down firmly. This helps the adhesive bond evenly and removes any trapped air pockets, ensuring your new floor stays in place.
Top tip: work in manageable sections so the adhesive doesn’t dry out before you place the tiles.
Finishing Touches
Once the main installation is complete, it’s time to take care of the details that give your floor a polished, professional finish.
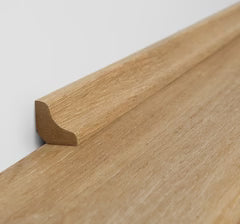
- Add skirting boards or beading: to cover the expansion gaps left around the edges, install new skirting boards or add beading. This hides the gaps and frames your herringbone floor beautifully.
- Clean off adhesive residue: check the surface carefully and wipe away any excess adhesive before it hardens. A clean finish will make your new flooring look flawless from day one.
- Allow the floor to settle: before moving furniture back into the room, give the floor time to settle – typically 24 hours. This prevents shifting or damage while the adhesive fully bonds.
Common Mistakes to Avoid
Even with the right tools and preparation, a few common errors can affect the finish of your herringbone flooring:
- Not measuring the centre line correctly: the entire pattern depends on your starting point. If the centre line is even slightly off, the herringbone design will look misaligned across the room. Double-check your measurements before you begin.
- Skipping acclimatisation: LVT planks need time to adjust to the room’s temperature and humidity. Fitting them straight from the box increases the risk of gapping or lifting later. Always allow 24–48 hours for acclimatisation.
- Rushing cuts around edges: uneven or jagged cuts at the edges can spoil an otherwise perfect installation. Take your time with each cut and use a sharp utility knife for the best results.
- Lacking patience: herringbone patterns require precision. Rushing through the installation often leads to gaps, misaligned planks and wasted materials. A slow and steady approach will give you professional-looking results.
Top tip: measure twice, cut once, and don’t be afraid to pause and check your progress as you go. Laying herringbone LVT flooring may look complex at first glance, but with the right preparation, tools and a step-by-step approach, it’s a project most DIYers can confidently tackle.