Installation Method
Style
Colour
Room
Brand
Range
New LVT
LVT Sale
Thickness & More
New Laminate
Laminate Sale
Floor Type
Species & Grade
Thickness & Width
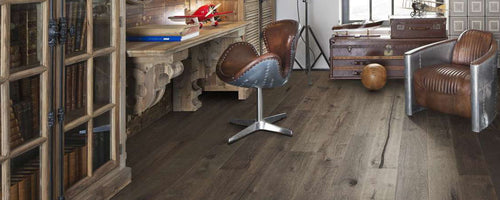
New Real Wood
Real Wood Sale
Underlay
Accessory Type
Karndean Accessories
Kährs Accessories
Getting Started
Buying Guides
About our Brands
View Advice & Inspiration
Room Visualiser
Set a floor in your room
Our Flooring in Real Homes
Luxury Vinyl
Laminate
Real Wood
Accessories
Flooring Advice
Sale
Trade Sign-Up
Up to 50% OFF selected flooring +30% OFF on selected Polyflor flooring. Ends 15th June.
Advice and Inspiration
Shopping Basket
Your cart is Empty
Black Friday Deals 2025: Premium Choices from Flooring Supplies
inspiration
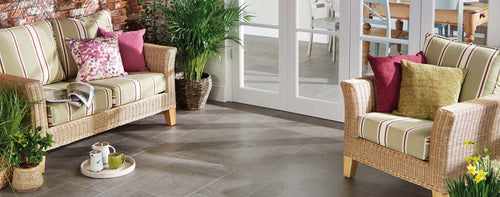
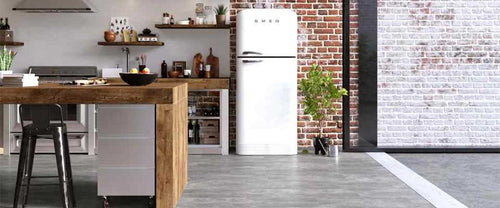
Is Grey Slate Flooring Right for You?
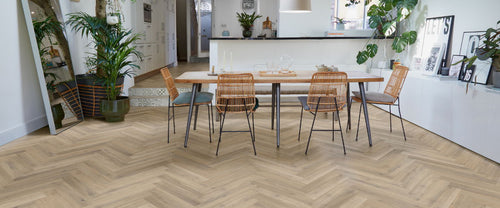
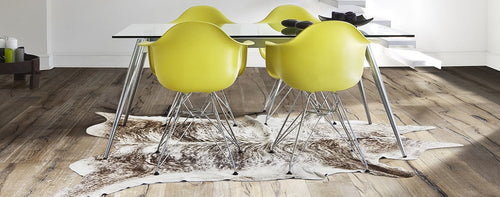
The Best Angle For Your Floor
luxury vinyl
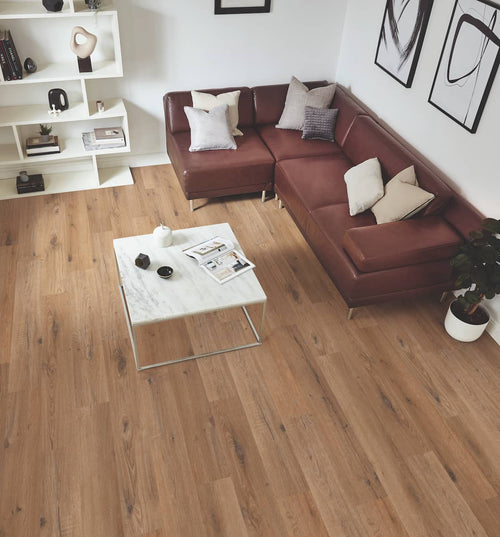
Moduleo LayRed Engineered Vinyl Flooring
Camaro Rigid Core
advice
What is a Floating Floor?
What Should You Consider When Choosing A Floor?
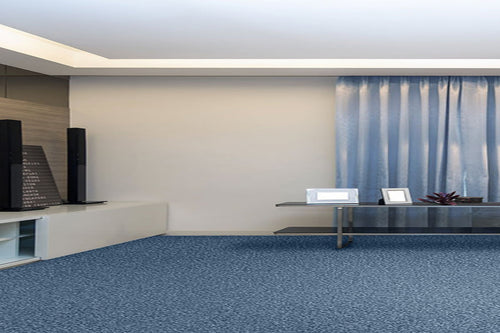
How to Lay Carpet
DIY Copper Penny Floor
Can I Use A Steam Cleaner On My Floor?
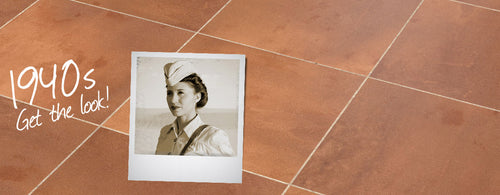
1940’s Interior Design
1920’s Interior Design